

A Complete Guide to Cable Trays Sizes and Selection
- Craig Marston
- Jan 1
- 16 min read

Getting the cable tray sizes right is the bedrock of any solid structured cabling project, especially in demanding environments like commercial buildings and hospitals. Here in the UK, standard widths run from a slim 50mm for a handful of data runs right up to 900mm or more for the heavy-duty containment needed in data centres. Nailing these dimensions from the start is about more than just a tidy desk; it’s about guaranteeing proper cable management, stopping your high-performance cables from overheating, and giving you room to grow without a costly refit down the line.
In short, getting this spot-on is a non-negotiable step towards a certified, high-performance network that will stand the test of time. A professionally planned system is the only way to ensure your network is tested and certified for peak performance.
Understanding Common Cable Tray Sizes
Choosing the right cable tray size is far more than just picking a box to stuff cables into. It's about engineering a reliable backbone for your entire network. In environments like commercial offices and hospitals, where network integrity is absolutely critical, getting this wrong is one of the most common data network mistakes we see. An undersized tray will inevitably lead to cable compression and heat build-up, which kills signal performance. On the other hand, a massively oversized one is just a waste of space and budget.
Proper cable management always starts with a clear-eyed assessment of the project's real scope. This isn't just about the cables you have today, but about planning for what you'll need tomorrow. A professional installation, like the ones we deliver as an Excel network accredited partner, always bakes in scalability from day one. That’s how you build infrastructure that supports you for years, not just until the next upgrade cycle.
Key Considerations for Sizing
Before you even think about specifying a tray, you need to run through a few critical factors to make sure the system is both compliant and future-proof. A proper tested network delivery depends on the smart decisions made right here.
Cable Type and Quantity: The diameter and number of your cables are the biggest drivers. A run of standard Cat6 data lines has very different space requirements compared to a delicate fibre cable installation, and this directly dictates the tray width and depth you'll need.
Future Capacity Planning: This is absolutely vital. A good rule of thumb is to size your trays so they are no more than 40-50% full after the initial installation. This leaves plenty of breathing room for future additions or to accommodate the changes that come with an office relocation with equipment testing without having to rip out and replace your entire containment system.
Environmental Factors: The setting makes a huge difference. A high-traffic corridor in a hospital demands a different approach to a secure, climate-controlled data centre in a commercial building. This influences the material, the type of tray, and consequently, its size and support requirements. We specialise in these commercial environments, not residential houses.
Warranty and Certification: This is the big one. A manufacturer-backed 25 year equipment warranty is often conditional on the system being installed to exacting standards. Using the correct cable tray sizes and adhering to the manufacturer's installation guidelines is a crucial part of meeting those conditions, ensuring your network is certified, and guaranteeing long-term performance and peace of mind.
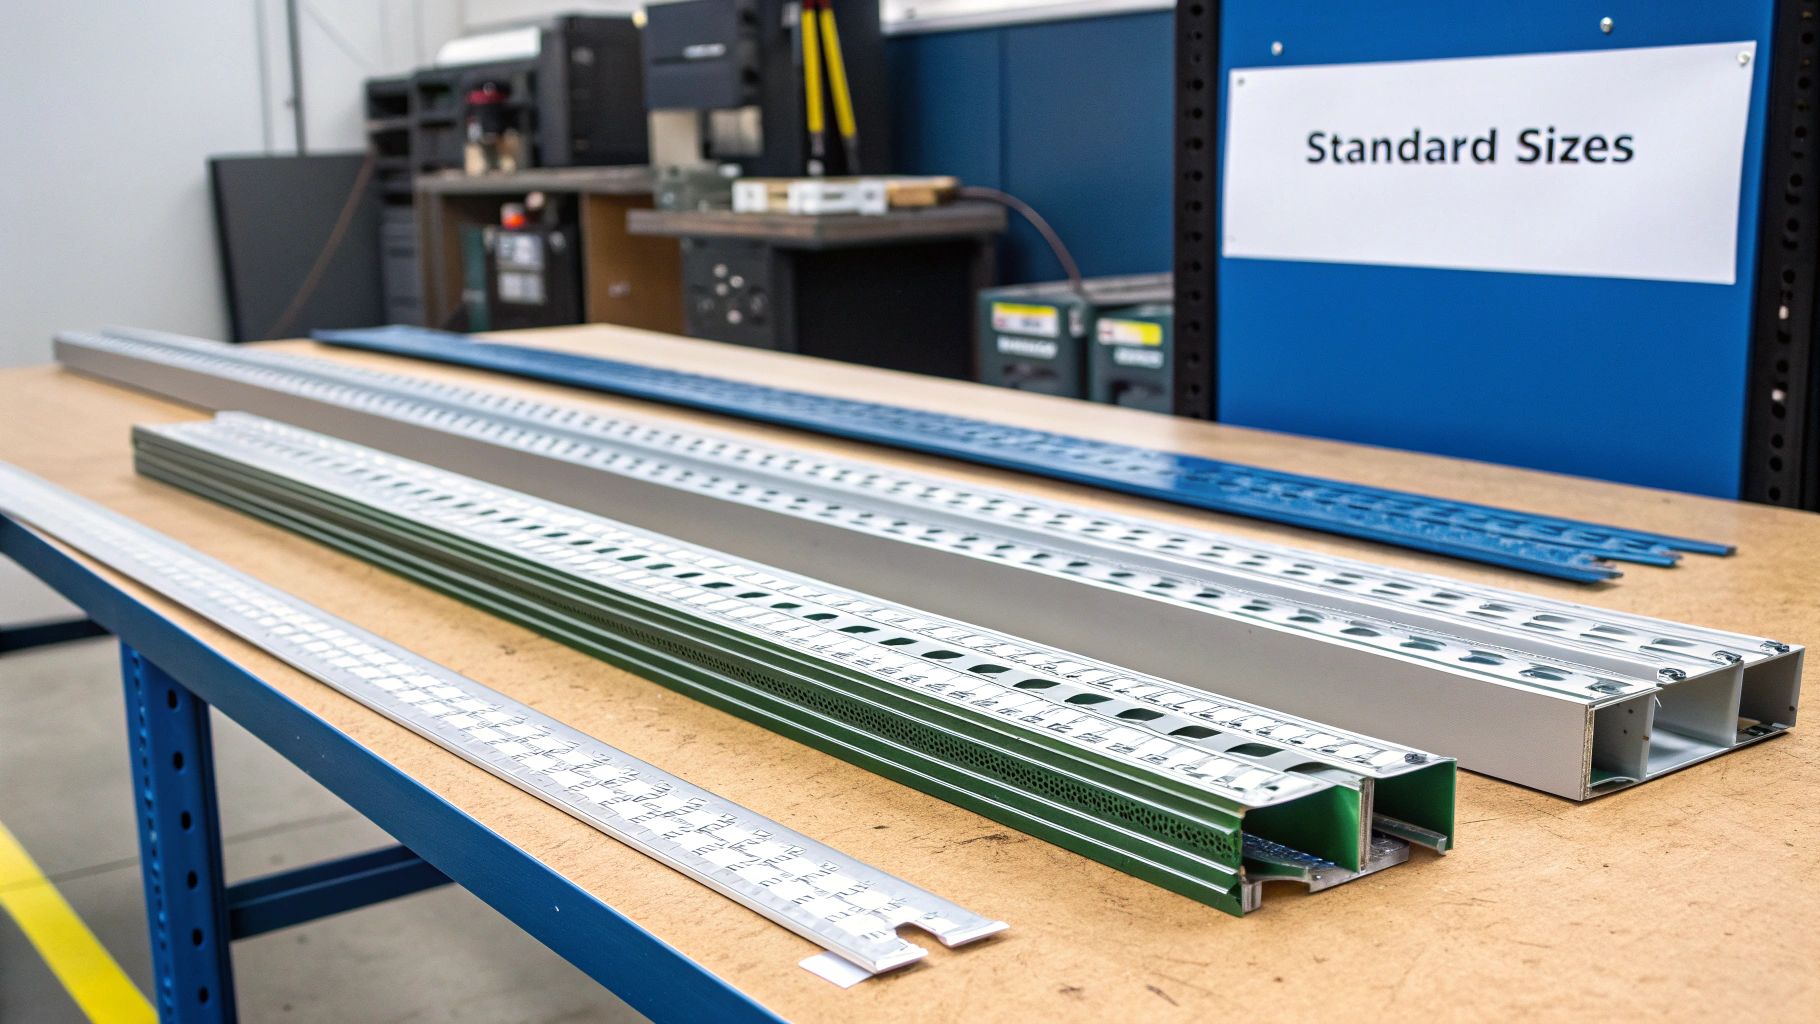
To make selecting the right size easier, we've put together a quick reference table outlining the standard dimensions you'll find in the UK and where they are most commonly used.
Standard UK Cable Tray Dimensions and Applications
Tray Width (mm) | Tray Depth (mm) | Typical Load Capacity (kg/m) | Primary Application | Recommended Tray Type |
|---|---|---|---|---|
50-75 | 25-50 | 15-30 | Small data drops, single workstations, low-voltage cabling (CCTV, access control) | Perforated or Solid Bottom |
100-150 | 50-75 | 30-60 | Standard office floor runs, small comms cabinets, multi-desk clusters | Ladder or Perforated |
200-300 | 50-100 | 60-100 | Main office backbone, comms room distribution, connecting multiple floor areas | Ladder |
450-600 | 75-150 | 100-180 | High-density data centres, server room main pathways, multi-floor risers | Heavy-Duty Ladder |
750-900 | 100-150 | 180-250+ | Main data centre corridors, high-volume power and data distribution pathways | Heavy-Duty Ladder |
This table serves as a solid starting point for planning your containment. Always remember to cross-reference these guidelines with your specific cable load calculations and future growth projections to ensure your chosen system is robust enough for both today's needs and tomorrow's demands.
Choosing the Right Cable Tray Type
Getting your cable tray sizes right is one half of the job, but picking the correct type of tray is just as vital. Each design brings its own strengths to the table in terms of support, protection, and airflow, and your choice will have a real impact on the long-term health of your network.
Making the right call here ensures your infrastructure, especially in demanding environments like commercial buildings and hospitals, is robust, compliant, and ready for what’s next. It affects everything from heat dissipation to protecting delicate cables, which is fundamental for a certified, tested network delivery and for securing that all-important 25 year equipment warranty. Let's break down the three main types you'll encounter.
Ladder Trays for Strength and Ventilation
Ladder trays are the real workhorses of cable containment. You can spot them by their two side rails connected by rungs, a bit like a traditional ladder. This design gives them incredible structural integrity, making them the go-to choice for supporting heavy power cables or huge bundles of data cabling over long spans.
Their greatest asset is the open structure, which allows for fantastic air circulation. This ventilation is absolutely crucial for preventing heat build-up—a silent killer that can seriously degrade cable performance over time.
Best For: Heavy power cables and high-density data cable bundles.
Ideal Environment: Data centres and main backbone routes where airflow is critical.
Key Benefit: Exceptional strength-to-weight ratio and maximum heat dissipation.
Perforated Trays for Versatile Support
Perforated trays, sometimes known as ventilated troughs, strike a great balance. They have a solid base but with a pattern of holes or slots punched through it. This gives you more continuous support for your cables than a ladder tray while still allowing a decent amount of air to circulate.
This versatility makes them an excellent all-rounder, perfect for most typical office fit-outs or relocations. They’re ideal for mixed installations of power and data cabling, providing enough support to stop smaller cables from sagging between the rungs of a ladder tray. For more on keeping these runs tidy, take a look at our guide on the benefits of effective cable management.
Solid Bottom Trays for Maximum Protection
When protecting your cables is the number one priority, solid bottom trays are the only answer. Just as the name suggests, they feature a solid, continuous base that offers the best possible defence against falling debris, dust, and any other physical hazards.
This complete enclosure makes them the industry standard for highly sensitive fibre cable installation. The solid base provides unwavering support, preventing any sagging or stress that could compromise the delicate glass fibres inside. It's all about ensuring the integrity of the signal and protecting the network's long-term warranty.
Getting Your Cable Tray Load and Fill Calculations Right
Nailing the load and fill calculations for your cable trays is one of the most critical steps when you're planning network infrastructure, whether it’s for a commercial building or a hospital. One of the most common—and costly—data network mistakes we see is undersized containment. It leads to cable compression, heat build-up, and a serious drop in performance.
Getting these figures spot-on is fundamental to a certified, tested network delivery. It’s what prevents expensive re-works during an office relocation and protects the long-term performance backed by a 25 year equipment warranty. The process really boils down to two key calculations: cable fill capacity and the total weight of your cables.
This diagram shows the typical thought process, starting with open ladder trays for maximum airflow and moving to solid bottom trays where ultimate cable protection is the priority.
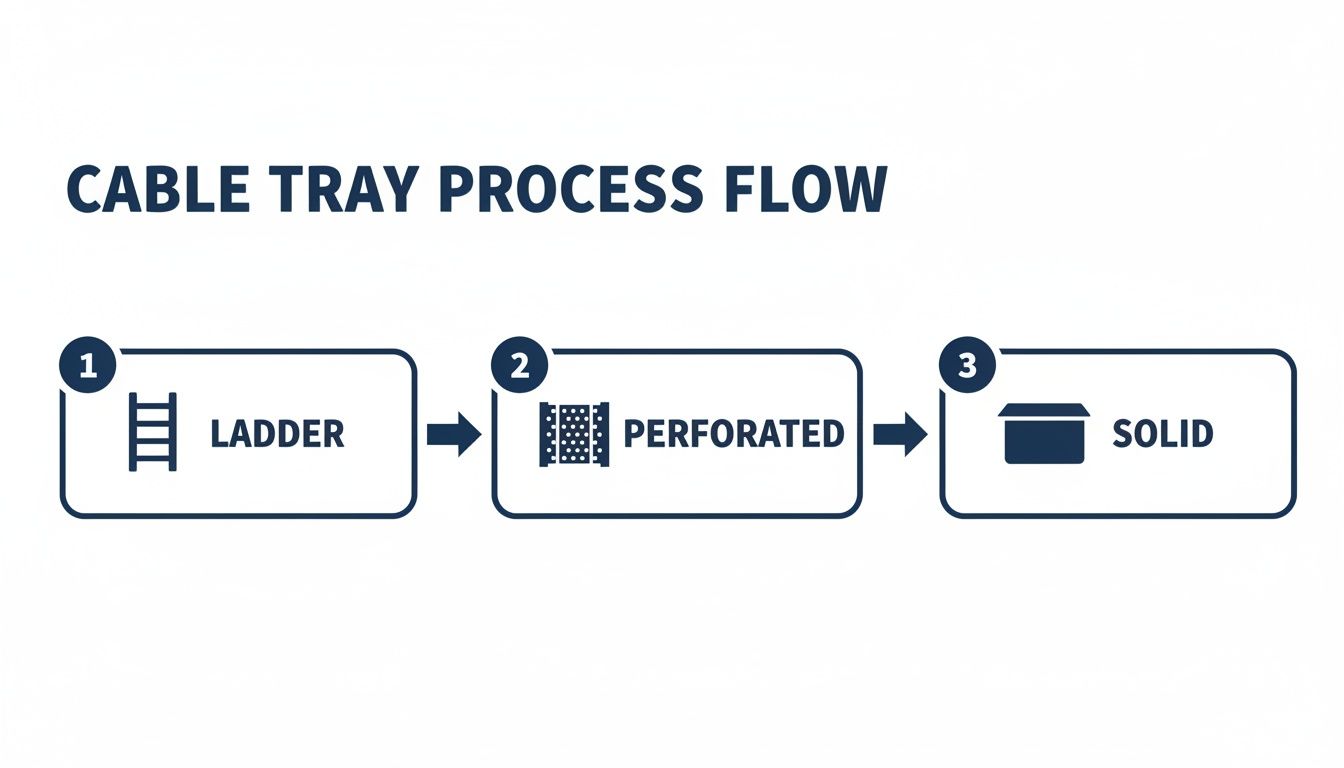
As you can see, the choice of tray size and type depends heavily on factors like cable weight, the sensitivity of what you're running (like fibre optic cables), and how much ventilation is needed.
Calculating Cable Fill Capacity
The industry best practice is what’s known as the 40% fill rule. This is a simple but vital guideline: the total cross-sectional area of all your cables should not take up more than 40% of the tray’s internal usable area. Following this rule prevents overheating and, just as importantly, leaves you crucial space for future expansion—a core principle of professional cable management.
To work this out, you'll need two bits of information: the total cross-sectional area of your cables and the internal area of your chosen tray.
Calculate Total Cable Area: First, you need the cross-sectional area of a single cable using the formula Area = πr², where 'r' is the cable's radius (which is just half its diameter). Multiply this area by the total number of cables you're planning to install.
Calculate Tray Usable Area: This is a straightforward one. Just multiply the internal width of the cable tray by its internal depth. For example, a 150mm wide tray with a 50mm depth gives you a usable area of 7,500mm².
Apply the 40% Rule: Your total cable area must be less than 40% of the tray’s usable area. Using our 7,500mm² tray, the maximum area your cables can occupy is 3,000mm².
A Practical ExampleLet's say you're installing 100 Cat6A cables for a new office wing. A standard Cat6A cable has a diameter of roughly 7.5mm.- Radius (r) = 3.75mm- Area of one cable = π × (3.75)² ≈ 44.18mm²- Total area for 100 cables = 100 × 44.18mm² = 4,418mm²To stick to the 40% rule, you'd need a tray with a usable area of at least 11,045mm² (which is 4,418 / 0.40). A 300mm x 50mm tray (with its 15,000mm² area) would be a solid choice, giving you plenty of room for growth.
Calculating Cable Load Weight
Just as vital as fill capacity is making sure the tray can actually support the total weight of the cables. Every cable tray has a Safe Working Load (SWL), a figure the manufacturer provides in kilograms per metre (kg/m). Exceeding this isn't just a simple installation mistake; it's a serious safety risk.
To calculate the total load:
Find the weight of your cable per metre (you'll find this on its data sheet).
Multiply that figure by the total number of cables you're running.
Make sure this total weight is comfortably below the tray’s specified SWL.
For instance, if a Cat6A cable weighs 0.06 kg/m, then a bundle of 100 cables would weigh 6 kg/m. A standard light-duty tray can handle this without breaking a sweat, but when you're dealing with heavy-duty power cables or dense fibre optic installations, this calculation becomes absolutely non-negotiable for a safe and certified outcome.
Getting to Grips with UK and International Standards
When you're installing cable trays in the UK, getting the standards right isn't just a good idea—it’s a legal requirement. Every installation, from a small office to a sprawling hospital, has to meet specific national and international regulations to guarantee it's safe, reliable, and compliant.
These aren't just tick-box exercises. They're the rulebook for ensuring the structural integrity of your entire cable management system and protecting the performance of the crucial cabling running through it.
Understanding these standards is the only way to deliver a professionally tested and certified network. They lay out a clear framework for everything, from the materials used in the trays to how much weight they can safely handle. That's why working with an Excel network accredited partner is so important; they live and breathe these rules, safeguarding your investment and unlocking the 25 year equipment warranty that comes with a pro installation.
Key UK Standards for Cable Trays
In the UK, two core standards form the backbone of any compliant cable containment project. They work in tandem, but each governs a different part of the installation.
BS 7671 (IET Wiring Regulations): This is the big one for all electrical installations in the UK. When it comes to cable management, it sets the high-level rules for how cables must be supported and protected to prevent damage and ensure complete electrical safety.
BS EN 61537: This standard gets specific about the cable trays themselves. It details the manufacturing, testing, and performance requirements for both tray and ladder systems, covering critical aspects like safe working loads (SWL), resistance to corrosion, and electrical continuity.
Following these standards is how you avoid the common data network mistakes that can lead to system failures, especially during a high-stakes project like an office relocation.
What This Means for Your Project
So, how do these rules affect you in the real world? They have a direct impact on choosing the right cable trays sizes and types. For example, BS EN 61537 classifies trays by their load-bearing capabilities, which is what allows engineers to specify a system that will safely hold all the intended cables without sagging or, worse, failing.
This regulatory framework is more important than ever. The UK construction sector's growth is fuelling huge demand for compliant cable trays, which are essential for structured cabling in every office fit-out. In fact, the UK cable management market was valued at USD 921.53 million in 2023 and is projected to hit USD 2,001.46 million by 2032, with cable trays taking the lion's share. This growth just underscores the need for certified solutions that meet strict UK regulations. You can find out more about the cable tray market trends and forecasts here.
By working with certified engineers who know these standards inside out, you ensure every single component—from the tray supporting a delicate fibre cable installation to the fixings holding it up—builds towards a robust and future-proof network. This meticulous approach is the only way to deliver a solution that's genuinely tested and certified.
Getting the right material for your cable tray is just as crucial as nailing the cable tray sizes. The choice comes down to one thing: the environment. This decision directly impacts the safety, longevity, and long-term reliability of your entire network infrastructure. Getting it wrong is a classic data network mistake that can lead to corrosion, structural failure, and put your whole investment at risk.
For most indoor commercial spaces, like a typical office fit-out, Pre-Galvanised Steel is the established standard. It hits the sweet spot between strength, corrosion resistance, and cost, making it perfect for controlled, dry settings. It gives you the support you need for your structured cabling while contributing to a tidy desk and workspace environment.
Matching Materials to Demanding Environments
But not all commercial spaces are clean and dry. When the conditions get tougher, you need to step up your material spec to protect your network, especially if you want to uphold the terms of a 25 year equipment warranty.
Hot-Dip Galvanised (HDG) Steel: This is your go-to for anywhere damp or humid. The process of dipping the steel tray in molten zinc creates a thick, tough coating that offers serious protection against moisture. You'll see HDG specified for basements, plant rooms, or any area where condensation is a real possibility.
Stainless Steel: For sterile or highly corrosive environments like hospitals or food processing facilities, stainless steel is non-negotiable. Its natural resistance to rust and chemical agents means it can meet strict hygiene standards and deliver maximum durability—an absolute must for a certified and tested network delivery.
Cost Versus Performance
While stainless steel offers the ultimate in protection, it also comes with a premium price tag. The trick is to strike the right balance between the budget and the real-world demands of your project. For instance, specifying stainless steel for a standard, dry office fit-out is just burning money. On the flip side, trying to save a few quid by using pre-galvanised steel in a damp basement is a false economy that will only lead to premature failure.
Making this strategic choice is a big deal. The UK cable management systems market is projected to grow to USD 2,001.46 million by 2032, largely driven by its huge adoption in commercial projects. Ladder-type trays are a dominant force in this market, which makes sense given how versatile they are in complex LAN/WAN designs—a core part of the end-to-end service provided by an Excel network accredited partner. Choosing the right material ensures your installation is a robust, reliable part of this expanding infrastructure. You can read more about the growth in the cable tray market.
Installation Best Practices for a Certified Network
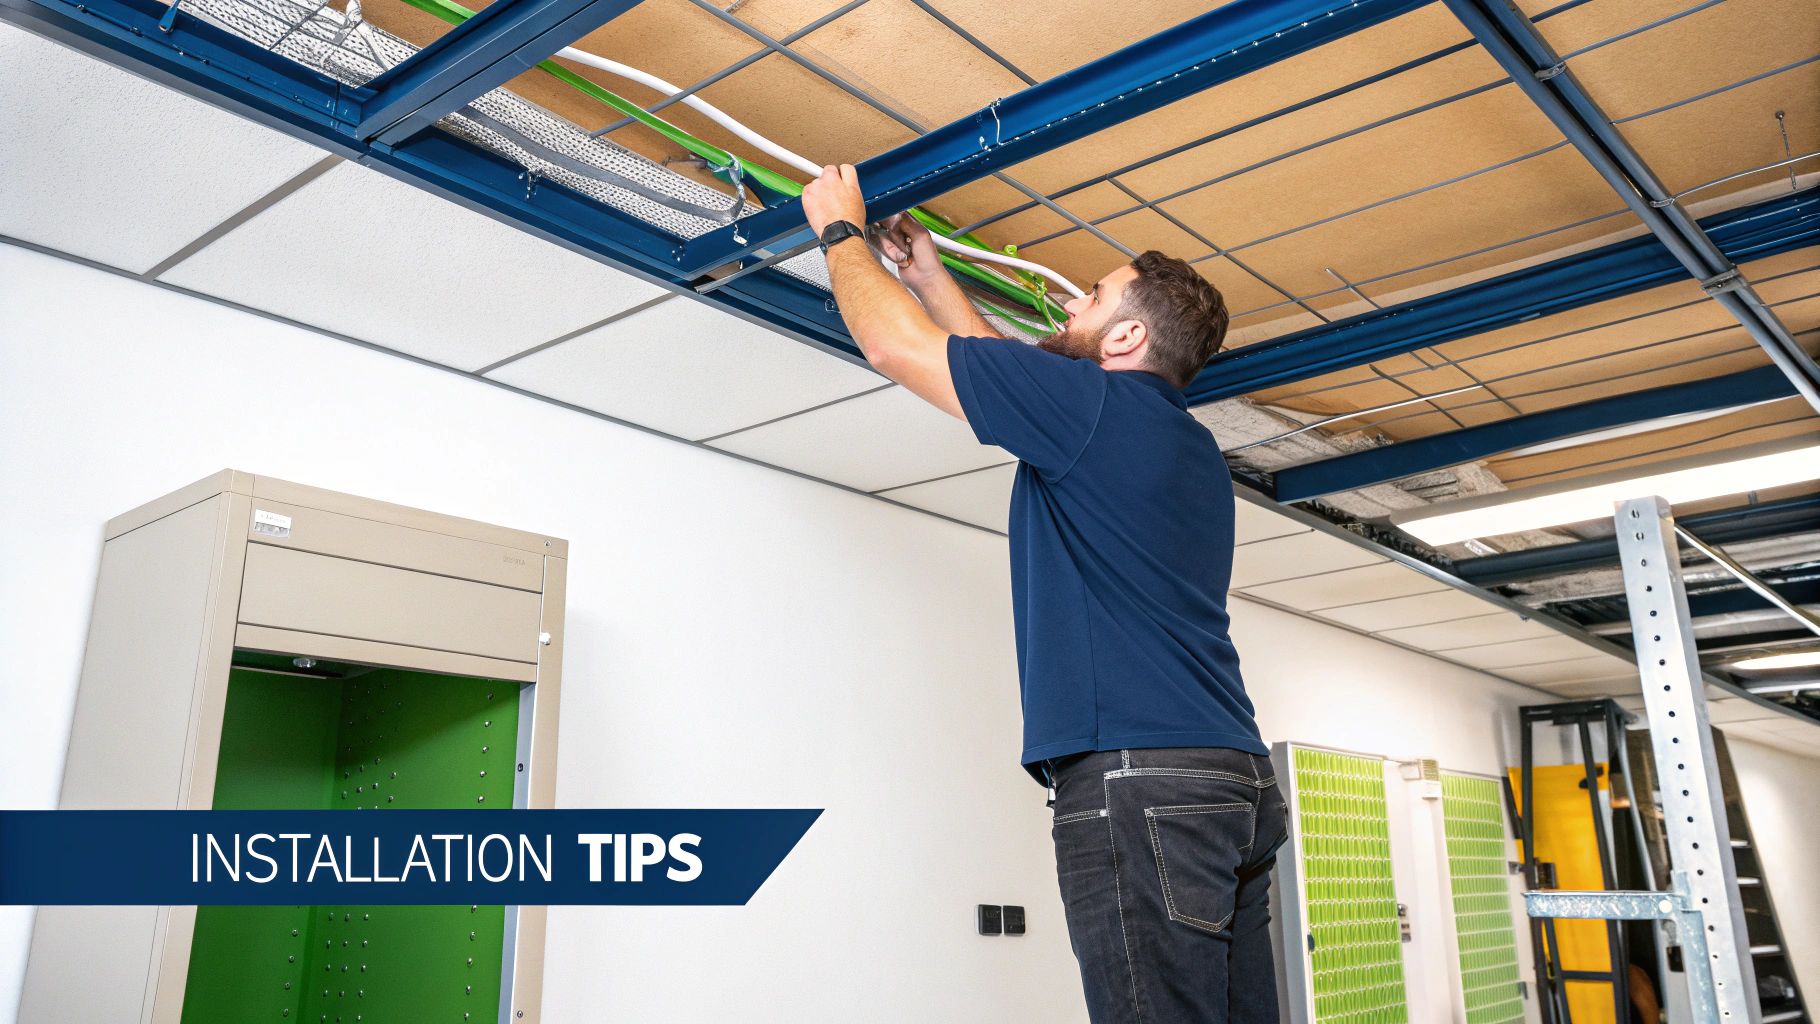
Choosing the right cable tray sizes and materials is a great start, but it's the professional installation that actually turns a box of components into a high-performance, certified network. One of the most common mistakes we see is improper support, which inevitably leads to sagging trays, damaged cables, and performance headaches down the line.
Getting the installation right isn't just a 'nice to have'—it's a non-negotiable part of a tested network delivery. It’s what ensures every part of the system works together as it should, safeguarding your investment and, crucially, unlocking the 25 year equipment warranty that comes with a professionally executed project.
Determining Support Spacing
The distance between your cable tray supports is determined by two key factors: the tray's duty rating (light, medium, or heavy) and the total weight of the cables it will hold. Overloading a tray or spacing the supports too far apart is a serious safety risk and can cause the tray to deflect, putting immense stress on the cables inside.
You should always follow the manufacturer's specific guidelines, but the table below gives a good rule of thumb for initial planning. A certified engineer will always verify these spans to ensure everything is compliant and structurally sound, especially in places like commercial buildings or hospitals where reliability is paramount.
Recommended Support Spacing for Cable Trays
This table provides general guidelines for support span distances based on the duty rating (load class) of the cable tray, helping ensure a secure and compliant installation.
Duty Rating | Example Load Capacity | Recommended Support Span (Metres) |
|---|---|---|
Light-Duty | Up to 30 kg/m | 1.0 - 1.5 m |
Medium-Duty | 30 kg/m - 75 kg/m | 1.5 - 2.5 m |
Heavy-Duty | Over 75 kg/m | 2.5 - 3.0 m |
As you can see, the heavier the load, the closer the supports need to be. This prevents sagging and ensures the long-term integrity of both the tray and the valuable cabling within it.
Handling Sensitive Fibre Optic Cables
When your project involves a fibre cable installation, the stakes get even higher. Fibre optic cables have a minimum bend radius that must be respected at all costs. Forcing them around tight corners can fracture the delicate glass core inside, which will lead to signal loss or complete link failure.
Certified engineers use specialised fittings like bends, tees, and risers to navigate corners and changes in height smoothly. This meticulous approach creates a gentle, sweeping path for the cable, maintaining signal integrity and giving you that tidy, professional finish. You can discover more in our essential guide to data cabling installation.
Ensuring Electrical Safety with Earthing and Bonding
For any metallic cable tray system, proper earthing (or bonding) is a legal requirement under UK safety standards like BS 7671. This critical step ensures electrical continuity across the entire tray system, protecting personnel from electric shock in the event of an electrical fault.
This is a key checkpoint in the network testing and certification process. A professional installer makes sure that every section of the tray is securely bonded together, creating a continuous, safe path to the earth. This is especially vital during an office relocation, where systems are being reconfigured and recommissioned with equipment testing to guarantee rock-solid performance from day one.
Your Checklist for Specifying Cable Tray Projects
Getting a structured cabling project right from the very start comes down to one thing: clear, detailed specifications. Whether you’re planning an office relocation or a brand-new installation in a commercial building, this checklist pulls together the key principles you need to brief your installation partner properly.
Use it as your guide to make sure every proposal you receive is based on best practice. This is how you guarantee a professional and certified network delivery, building a robust infrastructure from day one and sidestepping common mistakes that hurt performance and lead to expensive rework down the line.
Core Specification Points
Before you even think about signing off on a plan, run through these essential checks. They are the absolute foundation of a safe, compliant, and future-proofed installation that will protect your investment and the critical data that runs through it.
Confirm Cable Quantities and Types: Start with the basics. You need an exact count of every single cable (e.g., Cat6A, fibre optic) and their specific diameters. Every other calculation flows from this number.
Calculate Fill Capacity (The 40% Rule): This is non-negotiable. Verify that the proposed cable tray sizes are large enough so that the total cross-sectional area of your cables takes up no more than 40% of the tray's internal space. This simple rule prevents overheating and gives you room to add more cables later without a headache.
Verify Safe Working Load (SWL): Make sure the total weight of all the cables per metre won’t exceed the tray’s specified SWL. It’s a critical safety check and a core part of a compliant installation.
Select the Right Material: The environment dictates the material. For dry office spaces, pre-galvanised steel is the standard. If you’re dealing with damp areas or basements, specify hot-dip galvanised. For sterile environments like hospitals or kitchens, it has to be stainless steel.
Compliance and Future-Proofing
A truly professional installation always looks beyond today’s needs to guarantee long-term performance and rock-solid adherence to UK standards. For a deeper dive into containment options, you might be interested in our essential guide to raceway for cable systems.
Ensuring compliance isn’t just a good idea—it's essential. A certified installation by an Excel network accredited partner must adhere to BS EN 61537. This guarantees the system is professionally tested, which is exactly what protects your 25 year equipment warranty.
Finally, always, always plan for growth. A well-designed cable management system should have a minimum of 25-50% spare capacity built-in from the start. This bit of strategic foresight ensures your network can scale as your business does, leaving you with a tidy, manageable, and lasting solution.
Your Cable Tray Questions, Answered
When you're knee-deep in an office relocation or a new fit-out, the details around cable trays can throw up a lot of questions. Getting the answers right is absolutely vital for a smooth, certified network delivery that won't give you headaches down the line.
Here are the straight answers to the most common queries we hear from IT and facilities managers, helping you sidestep those all-too-frequent data network mistakes.
What Is the 40% Fill Rule for Cable Trays?
The 40% fill rule is a golden rule in professional cable management. It simply means the total cross-sectional area of all your cables shouldn't take up more than 40% of the cable tray's internal space.
This isn't just about keeping things tidy. It’s critical for two main reasons: it stops cables from being crushed and ensures there's enough air circulation for heat to escape, protecting your signal integrity. Just as importantly, it leaves you valuable room for future growth, making your infrastructure scalable without having to rip everything out and start again.
How Far Apart Should Cable Tray Supports Be?
There's no single magic number for support spacing; it all comes down to the tray’s load rating (light, medium, or heavy-duty) and the sheer weight of the cables it will be holding. For a typical medium-duty tray in an office, you're usually looking at a span between 1.5 and 2 metres.
However, you must always follow the manufacturer's specific guidelines to the letter. This is non-negotiable. Sticking to their recommendations ensures a safe, compliant installation that protects your 25 year equipment warranty and guarantees the whole system stays securely in place for years to come.
Do Cable Trays Need to Be Earthed?
Yes, one hundred percent. All metallic cable tray systems must be properly earthed (often called bonding) to meet UK electrical safety regulations like BS 7671. This is a critical safety measure, not an optional extra.
Proper earthing creates electrical continuity across the entire run of trays, protecting both people and equipment from electric shock if a fault occurs. This is a mandatory check that certified engineers perform during a professional installation and is a cornerstone of a tested network delivery. When you're putting together your own plans, especially for a major infrastructure project, a good data center migration checklist can be an invaluable guide.
For expert planning and installation of your structured cabling and cable management systems, trust the certified professionals at Constructive-IT. Ensure your next project is delivered on time, on budget, and is backed by a 25-year warranty. https://www.constructive-it.co.uk
Comments