

A Guide to Server Cabinet Dimensions for UK Businesses
- Craig Marston
- Jan 13
- 16 min read

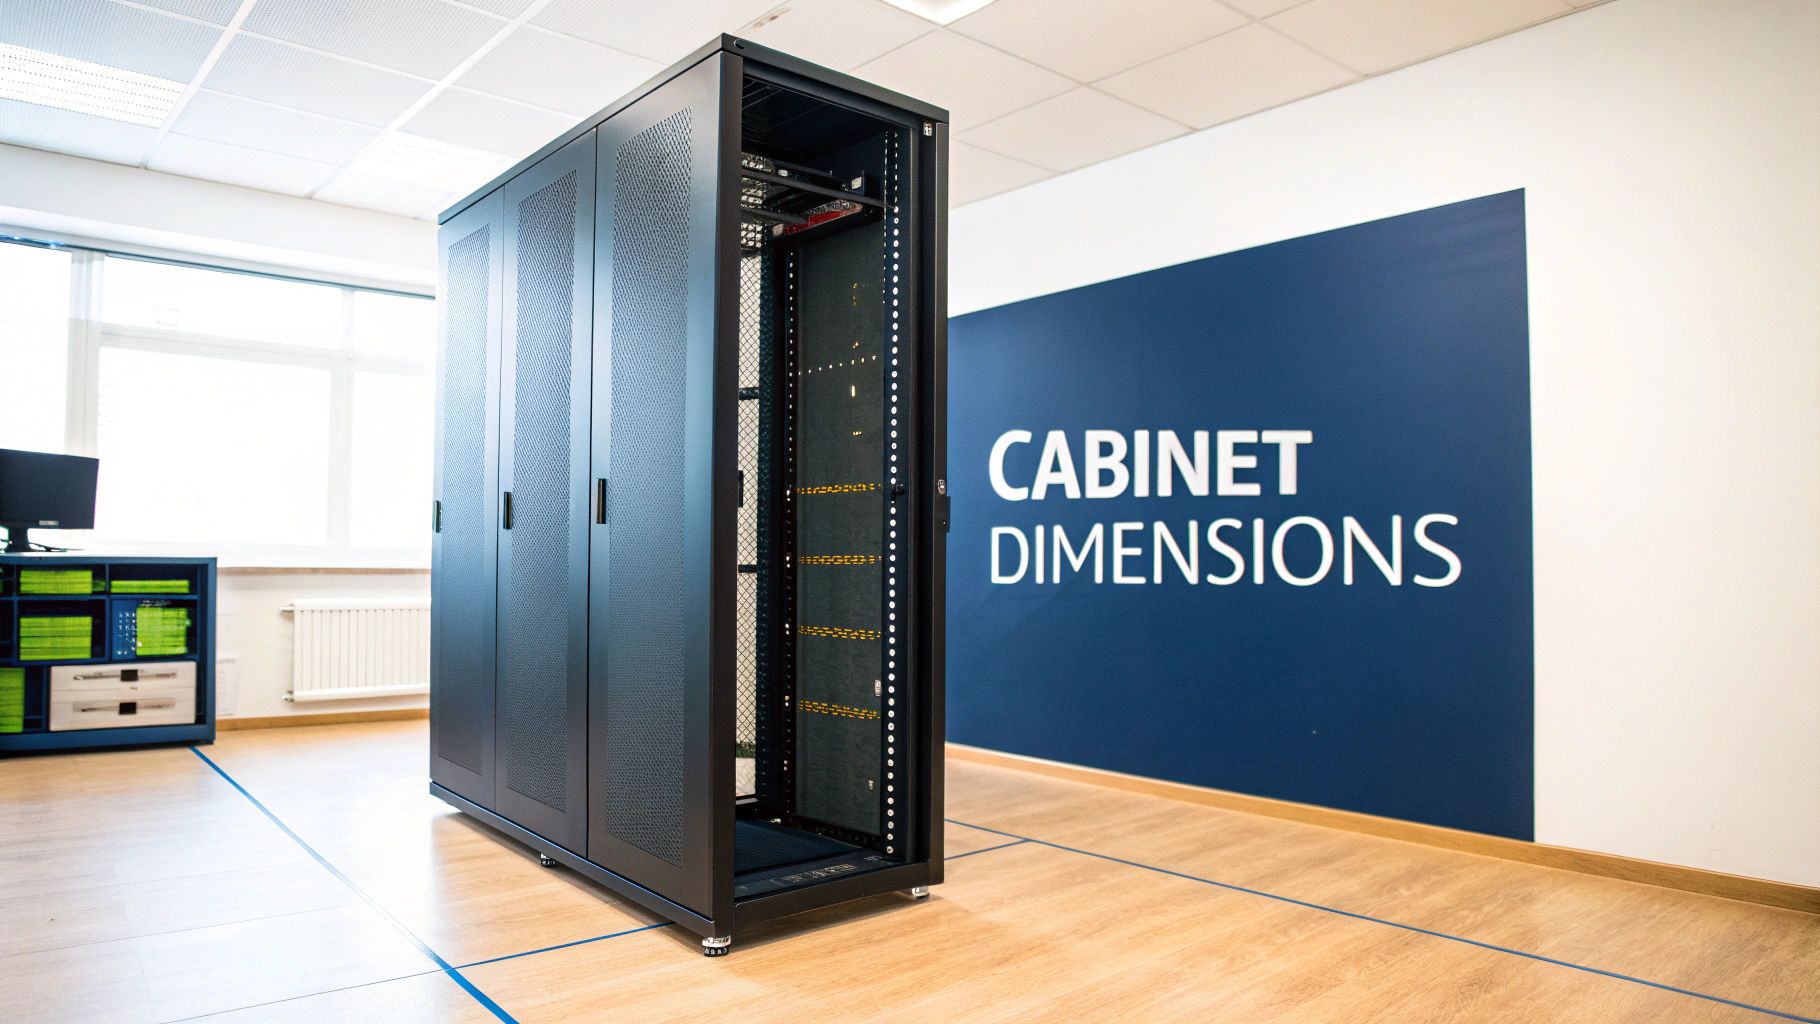
Getting your head around server cabinet dimensions is the first, and most important, step in any IT project. When you see a spec like 42U x 600mm x 1000mm, it’s not just a string of numbers—it’s the blueprint for your entire setup, defining the cabinet's usable internal height, external width, and external depth.
Nailing these three core measurements from the get-go is critical. It determines whether your kit will physically fit, if it will get enough air to stay cool, and how easily you can actually get the thing installed in the first place.
Decoding Server Cabinet Dimensions
Think of a server cabinet as a purpose-built bookcase for your most critical tech. Just as a bookshelf has specific dimensions to hold books securely, server cabinets follow universal standards to make sure all your expensive equipment fits perfectly. Getting to grips with these measurements is the first step towards building a stable, organised, and scalable IT infrastructure.
For any IT manager in the UK planning an office relocation or data centre expansion, mastering these dimensions prevents costly, last-minute headaches. A cabinet that’s too shallow can cause kit to overheat, while one that’s too tall might not even fit through the door. It’s that simple.
The Three Critical Measurements
Every server cabinet is defined by three key numbers. Let's break down what each one actually means in the real world.
Height (in Rack Units 'U'): This tells you the usable vertical space inside the cabinet. One rack unit, or 1U, is precisely 1.75 inches (44.45mm). So, a standard 42U cabinet gives you 42 of these slots for mounting your servers, switches, and other gear.
Width (in Millimetres 'mm'): This is the external width of the cabinet frame itself. The most common size by far is 600mm, which is designed to sit neatly on a standard data centre floor tile. You can also get wider 800mm cabinets, which give you extra room down the sides for managing chunky cable looms.
Depth (in Millimetres 'mm'): This external measurement is vital. It has to be deep enough to house your longest server while still leaving plenty of space at the back for power cables and, most importantly, airflow. Common depths are 1000mm or 1200mm to accommodate modern servers and vertical power distribution units (PDUs).
By understanding these three figures, you can accurately plan your server room layout, guarantee equipment compatibility, and create an environment that promotes efficient cooling and easy maintenance. Misjudging just one of these server cabinet dimensions can lead to significant project delays and unexpected costs.
When it comes to server cabinet dimensions, one measurement rules them all: the 19-inch width.
This magic number, which works out to 482.6mm, isn't about the outside of the cabinet. It’s the distance between the vertical mounting posts on the inside. It’s the universal standard that ensures a server from Dell, a switch from Cisco, and a patch panel from a third-party manufacturer will all line up and fit together perfectly.
Think of it as the IT world's equivalent of the standard railway gauge. Just as a single track width allows trains from different operators to use the same network, the 19-inch standard lets you build a solid IT infrastructure using equipment from countless vendors, all living happily in the same cabinet. This compatibility is the absolute bedrock of modern data centre design and is non-negotiable for any serious IT project in the UK.
Sticking to this standard takes all the guesswork out of buying new kit and guarantees your hardware and cabling can be installed cleanly and securely.
Why This Specific Measurement Dominates
You might be surprised to learn this standard isn't a recent invention. The iconic 19-inch server rack format actually dates all the way back to 1922, when AT&T first used it to bring order to the sprawling equipment in telephone exchanges.
Fast forward to today, and that same EIA-310 standard is the backbone of virtually every data centre and office comms room in the UK. Adhering to this 19-inch width ensures seamless compatibility with over 95% of enterprise servers and networking gear on the market. This long-standing adoption means the entire IT ecosystem is built around it, putting everyone from tiny start-ups to massive corporations on a level playing field for hardware.
The Impact on External Cabinet Width
While the internal mounting width is locked in at 19 inches, the cabinet's external width is a different story. This is a vital distinction to make when you're laying out a server room floor plan. The two most common external widths you’ll find in the UK are:
600mm Wide Cabinets: This is the go-to choice for most. It’s designed to sit perfectly on a standard 600mm x 600mm raised floor tile, giving you a compact footprint that helps maximise the number of racks you can fit into a room.
800mm Wide Cabinets: These wider cabinets offer extra room on either side of the mounting rails. That extra space is a lifesaver for managing high-density cabling, letting you route thick bundles of power and data cables neatly without choking off the airflow your servers desperately need.
Choosing between a 600mm and an 800mm external width comes down to one thing: cable density. For a simple comms rack with a few patch panels, 600mm is usually fine. But for a cabinet packed with servers and switches, that extra room in an 800mm model is essential for proper cooling and maintenance.
Beyond the Standard 19-Inch Rack
Although the 19-inch rack completely dominates the enterprise world, it's worth knowing other sizes do exist for niche uses. For instance, smaller 10-inch racks are becoming popular for home labs or tiny offices where space is at a premium and you only need to house a handful of small devices like a router or a cluster of Raspberry Pis.
However, for any commercial office fit-out, server room refresh, or data centre project in the UK, the 19-inch standard is the only practical choice. It guarantees long-term scalability, equipment compatibility, and access to the biggest possible range of hardware, future-proofing your investment.
Calculating Cabinet Height in Rack Units
When you're measuring up a server room, you leave the tape measure and its metres at the door. The world of server cabinets runs on a different system altogether. The measurement that truly matters isn't the external height, but the usable space inside, and for that, we speak in Rack Units, or 'U' for short.
Think of it as the universal language for data centre kit. One rack unit (1U) is a standardised slice of vertical space, precisely 1.75 inches (44.45mm) high. Every piece of equipment designed to be rack-mounted, from a slim network switch to a hefty server, is built to fit perfectly within these increments. This means calculating your needs is just simple addition—tally up the 'U' height of every device you plan to install, and you've got your starting number.

Doing a Quick Equipment Audit
Before you even think about buying a cabinet, you need to know exactly what’s going inside it. A quick equipment audit is the best way to stop you from either running out of room on day one or splashing out on a cabinet that’s mostly empty space. The goal is simple: list every single thing that needs a home in the rack.
Your audit should be a straightforward list:
Servers: Jot down the 'U' height for each one (e.g., if you have two 2U servers, that’s 4U used up).
Networking Gear: Don’t forget your switches, routers, and firewalls. These are typically 1U or 2U each.
Power Management: An Uninterruptible Power Supply (UPS) is often the heaviest bit of kit and can take up 2U to 4U. Power Distribution Units (PDUs) are essential too, but they often mount vertically down the side, so they won't eat into your 'U' space.
Cabling Infrastructure: Patch panels for your copper and fibre connections are a must, and they’re almost always 1U each.
Once you have your grand total, the job isn't done. A cabinet that’s 100% full from the start is a sign of poor planning.
Crucial Planning Tip: Always build in a buffer. A good rule of thumb is to add an extra 10-20% to your total U count. This gives you breathing room for future upgrades and—just as importantly—for airflow. Leaving a 1U gap between hot-running servers can make a huge difference to their cooling and lifespan.
Common Server Cabinet Heights and Applications
While you can get cabinets in all sorts of sizes, a few standard heights have become the go-to choices for specific jobs across the UK. Understanding these common options helps you match the right cabinet to your exact needs.
Cabinet Height (U) | Height (Inches) | Typical UK Application | Planning Consideration |
|---|---|---|---|
12U - 18U | 21" - 31.5" | Wall-mounted comms closets, small retail, branch offices. | Ideal for tight spaces. Check wall strength and weight capacity. |
24U (Half Rack) | 42" | Small business server rooms, under-desk IT infrastructure. | Fits in rooms with low ceilings but offers limited expansion. |
42U (Full Rack) | 73.5" | Data centres, enterprise server rooms, colocation facilities. | The industry standard. Maximises floor space but needs a clear route for delivery. |
48U - 52U | 84" - 91" | High-density data centres, hyperscale cloud providers. | Squeezes more gear in but can make top-U access tricky. Ceiling height is critical. |
Ultimately, the choice boils down to balancing your current equipment list with your future ambitions and the physical constraints of your building.
Why 42U Became the Industry Standard
Walk into almost any data centre or sizeable server room in the UK, and you'll be met with rows of 42U cabinets. This specific size, offering 73.5 inches (186.7 cm) of internal mounting space, is the undisputed industry champion. It hits the sweet spot between packing in a lot of equipment and keeping everything physically accessible for engineers.
The 42U cabinet really cemented its place in the UK after the EIA-310 standard was widely adopted. Its dominance grew when bodies like the British Standards Institution (BSI) referenced it in guidance for IT structures, making it a default choice for countless public sector projects, from local councils to new NHS facilities. You can learn more about how industry standards shape server rack design.
Matching the Cabinet Size to Your Needs
While the 42U rack is the most common, it’s certainly not a one-size-fits-all solution. The right cabinet for you depends entirely on what you’re doing, how much space you have, and your budget.
A smaller 24U cabinet, often called a 'half-rack', is a brilliant choice for a small business's comms room. It's got plenty of space for a basic setup—a switch, router, patch panel, and maybe a small server. Because it's shorter, it can tuck neatly under a worktop or fit into rooms with low ceilings where a full-height rack would be a non-starter.
At the other end of the scale, a big enterprise or data centre will almost always go for 42U cabinets. Why? To cram as much computing power as possible onto every square foot of their expensive, climate-controlled floor space.
One final, crucial check: always measure the external height of the cabinet and compare it with your ceiling height. And don't forget to measure every doorway, corridor, and lift it has to pass through to get to its final destination. This one simple step can save you from a very costly and embarrassing disaster on installation day.
Choosing the Right Cabinet Depth
While height and width set the stage, the depth of your server cabinet is where performance, cooling, and maintenance truly come together. Getting this dimension wrong is one of the most common and costly mistakes you can make in server room planning. A cabinet that’s too shallow can lead to overheating, kinked cables, and a maintenance nightmare down the line.
Think of the space behind your servers as the cabinet's lungs. It needs to be deep enough not just to hold your longest piece of kit, but to give hot air plenty of room to circulate and escape. Modern servers chuck out a tremendous amount of heat, and without a clear path for it to be exhausted at the rear, you’re risking thermal throttling and premature hardware failure. It's not enough to just squeeze the equipment in; you have to plan for the entire ecosystem of power, cooling, and connectivity that lives behind it.
Measuring for Your Deepest Equipment
The first step is simple: find your deepest piece of hardware. This isn't just about the server chassis itself. You absolutely must account for anything that sticks out from the back, like power supply handles, network transceivers, and the bend radius of your cables.
A simple, three-step check will save you a world of trouble:
Identify the Deepest Device: Find the server, UPS, or storage array with the longest chassis in your inventory.
Measure its Full Depth: Get the tape measure out. Go from the front mounting ear to the furthest point at the rear, including any protruding bits.
Add Clearance for Cabling and Airflow: Add a minimum of 150mm (6 inches) to this measurement. This extra space is non-negotiable. It allows for proper cable routing, stops you from kinking expensive fibre optic or copper cables, and gives hot air a clear exit path.
Forgetting to account for the space needed by rear-mounted Power Distribution Units (PDUs) and cable management bars is a classic pitfall. These components are essential for an organised rack but will eat up valuable depth. Factoring them in from the start is critical.
Standard Depths and Their Applications
Here in the UK, server cabinet depths have largely settled around a few key sizes to meet the demands of modern IT gear. A depth of 1000mm (39.4 inches) has become the go-to standard since ETSI guidelines were established back in the 1990s. This size accommodates 85% of modern blade servers and fibre patch panels, giving you that crucial flexibility for rear cable management. In dense server rooms, a surprising amount of downtime can be traced back to cabling issues, so this space is vital. For a bit of history, you can read more on the 19-inch rack and its specifications.
Here’s a breakdown of the most common options:
800mm Depth: Generally considered too shallow for most modern production servers. You'll typically see this depth reserved for network or comms cabinets that house much shorter kit, like switches and patch panels.
1000mm Depth: This is the most popular all-rounder and the default choice for the majority of UK businesses. It provides enough room for most mainstream servers while leaving adequate space at the rear for PDUs and effective cable management. You can learn more about optimising your power setup in our essential guide to a rack with PDU setup.
1200mm Depth: This extra-deep option is becoming increasingly necessary for high-performance computing (HPC) environments. It’s designed to house the latest generation of ultra-deep servers and provides maximum room for high-density cabling and advanced cooling solutions.
The Importance of Adjustable Mounting Rails
One of the most valuable features of a modern server cabinet is its adjustable mounting rails. These are the vertical posts where you physically screw in your equipment, and they can be moved forward or backward within the cabinet. This flexibility is what lets you create a perfect, customised fit for all your gear.
For example, you might have a legacy 700mm deep server sharing a rack with a new 850mm deep blade server. Adjustable rails allow you to set the front posts in a standard position while sliding the rear posts to perfectly accommodate each device. This ensures every piece of kit is securely supported without wasting a single millimetre of valuable space, protecting your hardware investment for years to come.
Planning Your Server Room Layout
Choosing the right server cabinet is a great start, but it’s only half the story. A successful installation hinges on how that cabinet fits into the real world of your server room. Getting the planning right at this stage is what prevents the kind of costly, disruptive headaches that no IT manager wants to deal with on installation day.
This means you have to look beyond the cabinet itself and think about the entire ecosystem it lives in: the floor it sits on, the air that cools it, and the power that runs it. By treating the server room as a complete system, you build an infrastructure that's not just functional, but reliable, efficient, and easy to look after for years to come.
Can Your Floor Handle the Weight?
Before a single piece of kit goes in, you absolutely must confirm your floor’s loading capacity. A fully loaded 42U cabinet can easily tip the scales at over 1,000kg. That’s a massive point load that many standard office floors are simply not built to take. Getting this wrong can lead to serious structural damage.
You need to find the building's specifications for its 'point load' and 'distributed load' ratings, which are usually measured in kilonewtons per square metre (kN/m²). This is especially critical in older buildings or office spaces that have been converted, where the floor was never designed with heavy IT gear in mind.
Always consult with a structural engineer if you have any doubts about your floor's capacity. The cost of a professional assessment is trivial compared to the potential cost of structural failure. It's a foundational check that ensures the physical safety of your entire operation.
Aisle Spacing and Airflow Management
How you arrange your cabinets directly impacts your cooling efficiency and, by extension, your energy bills. Just dropping them in randomly is a recipe for disaster, creating hot spots where equipment will inevitably overheat and fail. The industry-standard approach is the hot aisle/cold aisle layout.
This layout is beautifully simple: you arrange rows of cabinets so their fronts face each other (creating a cold aisle) and their backs face each other (creating a hot aisle). This forces a predictable airflow path through the room.
Cold Aisle: This is where your air conditioning units push cool air for the servers to pull in through their front vents.
Hot Aisle: This is where servers blast out hot exhaust air from their rear vents, which is then sucked back into the air conditioning returns to be cooled again.
To make this system work properly, you need enough space. A typical cold aisle should be at least 1.2 metres (4 feet) wide. This gives engineers enough room to work comfortably and allows for easy access with crash carts. The hot aisle can be a bit narrower, around 1 metre (3 feet), as its main job is just to contain the hot air.
Doorways, Ceilings and Pathways
It sounds ridiculously obvious, but one of the most common installation-day disasters is discovering the cabinet is too big to even get into the room. Before you order anything, grab a tape measure and walk the entire delivery path, from the building’s loading bay right to the server room door.
Check the height and width of every single doorway, corridor, and lift. And don't forget to account for the cabinet's packaging (its 'shipping dimensions') and the trolley it will be moved on. Just as important is the ceiling height inside the server room itself; a 42U cabinet is nearly 2 metres tall before you even add castors.
Finally, think about your structured cabling pathways. A well-planned room has clear, organised routes for both data and power cables, often using overhead complete guide to cable trays sizes and selection or underfloor systems to keep everything separate and tidy.
This diagram shows just how critical the relationship between server depth, cabling, and airflow really is.
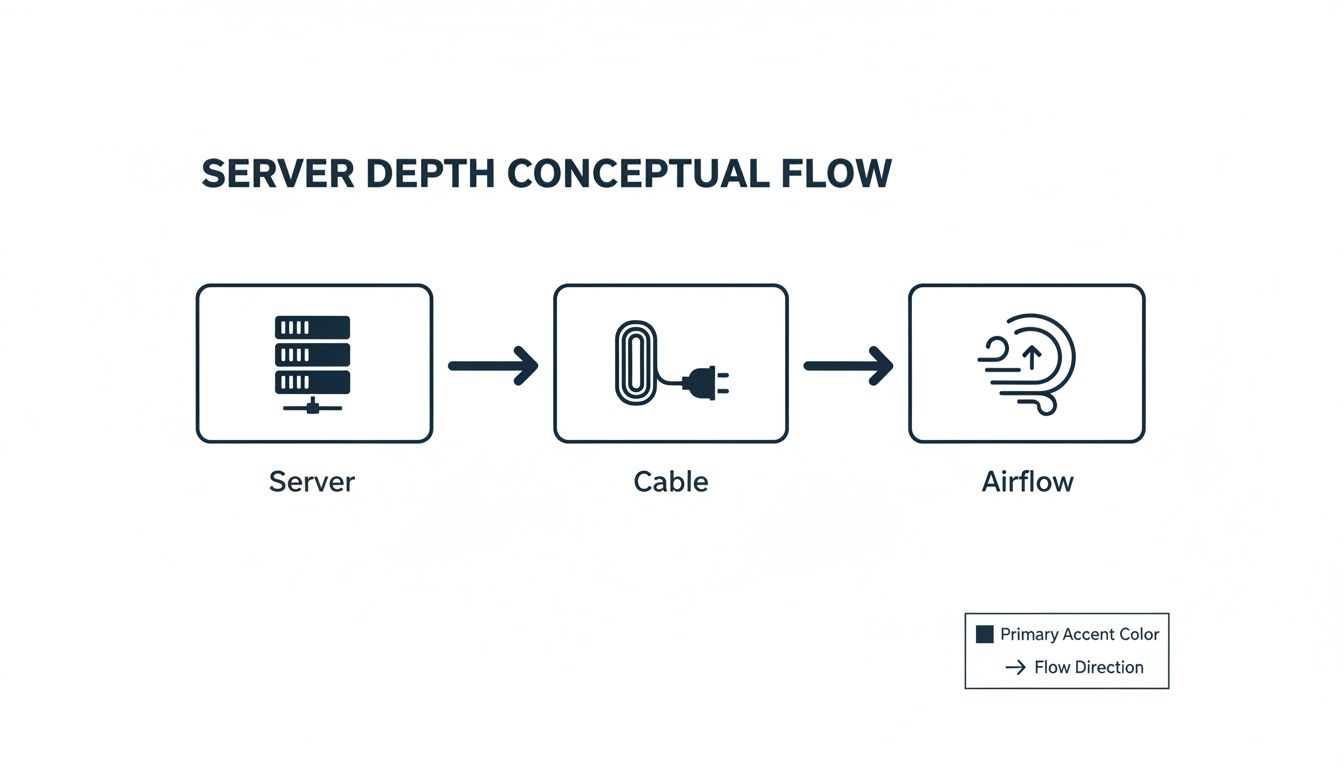
As the visual makes clear, getting the cabinet depth right isn't just about making the server fit. It's about leaving enough room behind it to manage cables properly and, crucially, allowing air to flow freely for cooling.
Your Essential Measurement Checklist

To guarantee a smooth installation and sidestep costly surprises, getting your measurements right is non-negotiable. A successful server room project is built on accurate data gathered long before any equipment gets ordered. The best way to make sure you don't miss a single critical detail is to use a structured checklist.
This practical guide is broken down into three key areas: the physical path into the building, the final spot where the cabinet will live, and the internal fit of your equipment. Working through these points systematically will ensure the server cabinet dimensions you choose are a perfect match for your space.
Room and Access Path
Before you do anything else, you have to be absolutely certain the cabinet can physically get to its destination. The journey from the delivery truck to the server room is often where the most preventable installation-day disasters happen.
Doorway and Corridor Dimensions: Measure the height and width of every single doorway, hallway, and corner on the delivery route. Don't forget to account for the cabinet's shipping dimensions—it'll be bigger in its crate than it is on its own.
Lift Capacity and Size: Check the lift’s maximum weight capacity and its internal dimensions (height, width, and depth). A fully crated 42U cabinet can be surprisingly heavy and bulky.
Ceiling Height: Measure the ceiling height in the server room itself. A standard 42U cabinet is nearly 2 metres tall, which doesn't leave much wiggle room with low ceilings or overhead obstacles like cable trays and ventilation ducts.
Cabinet Placement and Layout
Once you know the cabinet can get into the room, you need to plan its exact placement. This is all about thinking ahead for day-to-day access, proper cooling, and long-term maintenance.
Proper planning at this stage affects more than just convenience; it directly impacts your equipment's performance and lifespan. Aisle clearance isn't just for people—it's for airflow.
Available Floor Space: Mark out the cabinet’s footprint (e.g., 600mm x 1000mm) on the floor with tape. Check that there's enough space for the door to swing fully open without hitting anything.
Aisle Clearance: Plan for at least 1.2 metres of clearance in the cold aisle (at the front) and 1 metre in the hot aisle (at the back). This gives engineers safe access and is absolutely vital for an efficient hot/cold aisle cooling strategy.
Equipment and Internal Fit
Finally, double-check that your chosen hardware will fit comfortably inside the cabinet, with plenty of room for all the power and data connections. Efficient internal organisation is key, and understanding the benefits of good cable management is crucial for keeping things running smoothly.
Deepest Server Measurement: Find your deepest piece of kit and add at least 150mm to that measurement. This extra space is for cable connectors and airflow, and it determines the minimum cabinet depth you need.
Total 'U' Count: Add up the U height of all your servers, switches, and patch panels. You should always leave at least 10-20% of your U space free for future expansion and to improve airflow between devices.
PDU and Cable Management Space: If you're using vertical PDUs, make sure the cabinet is wide enough (e.g., 800mm) or deep enough to fit them in without blocking access to server maintenance panels.
Frequently Asked Questions
When you’re planning rack space, the same handful of questions always comes up. Getting clear, practical answers here can save you time, money and a lot of headaches during an office fit-out or data-centre expansion.
What Is The Most Common Server Cabinet Size?
In the UK, the 42U cabinet is the go-to choice. You’ll often see one that’s 600mm wide by 1000mm deep, striking a balance between packing in gear and leaving enough room to work.
Its popularity feeds a vast ecosystem of accessories—from sliding shelves to targeted cooling kits. And because it fits neatly beneath standard ceilings, you rarely bump into headroom headaches.
Why Is A Server Cabinet 19 Inches Wide?
That 19-inch (482.6mm) measurement describes the gap between the vertical mounting rails, not the outer shell. It’s part of the EIA-310 standard, so servers, switches and patch panels from different brands all bolt in without drama.
This uniform rail-spacing is the invisible glue of modern IT rooms. Mix and match your hardware, safe in the knowledge every component will slot straight into the rack.
How Much Clearance Does A Server Cabinet Need?
Crowding racks kills airflow and turns routine work into a wrestling match. Embracing a simple hot aisle/cold aisle layout prevents both hotspots and door-swing obstructions:
Front (Cold Aisle): At least 1.2 metres (4 feet) of clear space for equipment installation and cool air intake.
Rear (Hot Aisle): A minimum of 1 metre (3 feet) so heat can exhaust freely and cables don’t become a tangle.
Always double-check that your cabinet doors can open fully. Far too often, a stuck door behind a wall or cable tray turns a five-minute task into an all-day fiasco.
Can I Use A Smaller 10-Inch Rack For My Business?
You might spot 10-inch racks marketed for home labs or a solitary switch in a small shop. In reality, they lack the capacity and flexibility required for a proper business network.
For any commercial setup in the UK, the 19-inch standard is your only practical option. It guarantees access to the full suite of enterprise-grade servers, network kit and power modules—no awkward adapters or dead-end aisles.
Planning and executing a server room build-out requires specialist expertise to get every detail right. Constructive-IT provides end-to-end network infrastructure services, from initial design and structured cabling to full installation and go-live support, ensuring your project is completed on time and to the highest standard. https://www.constructive-it.co.uk
Comments